Outreach Settings control who your campaigns will and won't reach. You can define them at three levels: Agent, Sender, and Campaign. Only the settings applied inside the campaign itself are actually enforced.
Where Settings Can Be Defined
Agent Level
Apply default settings across all senders created under the agent.
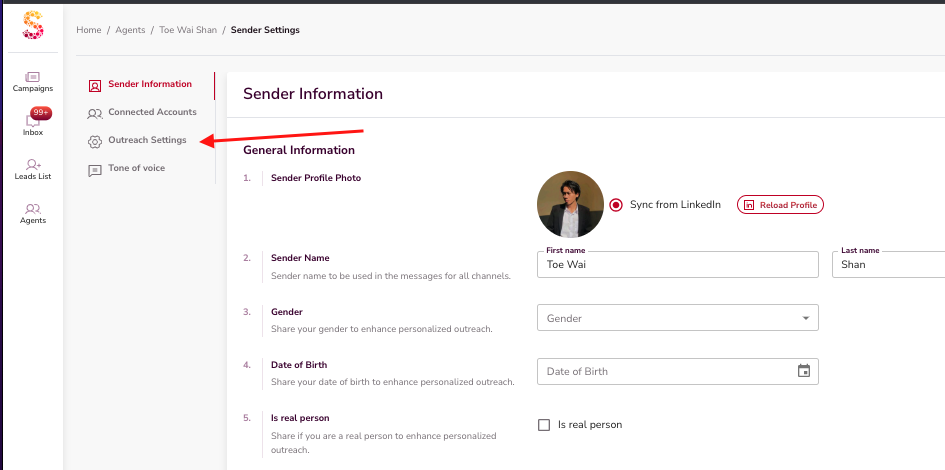
Sender Level
Each sender can have its own settings, which get applied when that sender is used in a campaign.

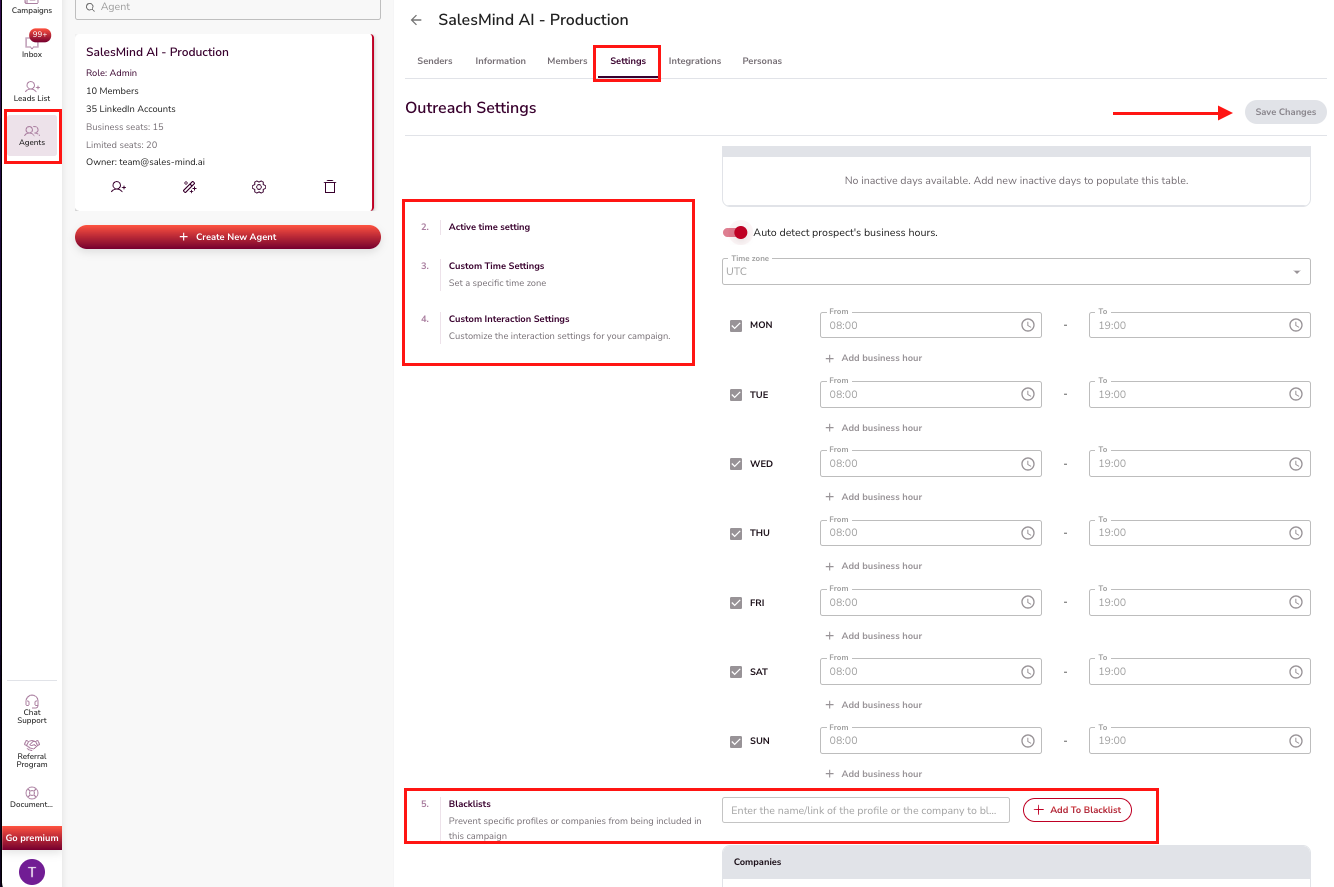
Campaign Level
The active settings that determine actual outreach. Only blacklist entries set here will stop outreach from going through.
How Blacklisting Works
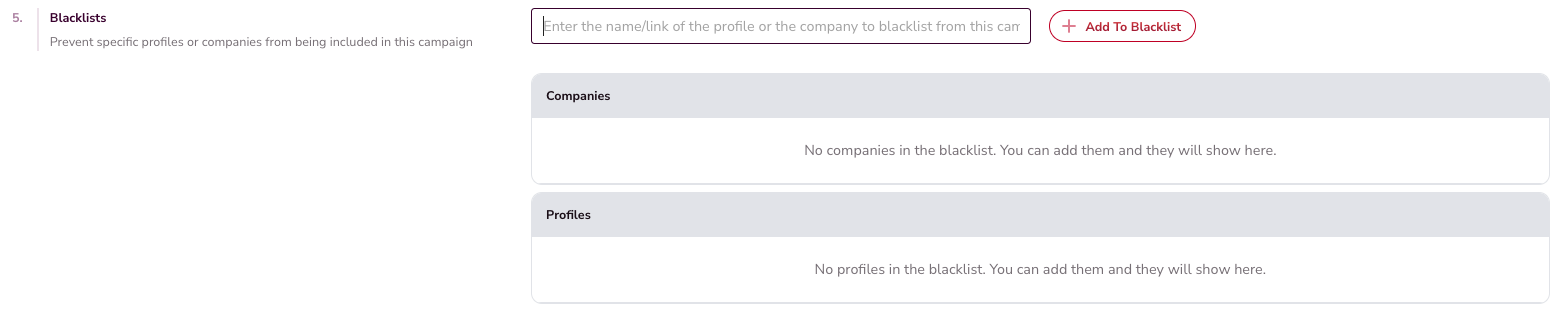
To exclude a competitor from being contacted:
- Add the competitor's company or profile link to your blacklist.
- Save the changes.
- Confirm the blacklist entry is attached to the campaign's outreach settings.
⚠️ Warning: If a competitor is blacklisted at the Agent or Sender level but not inside the campaign settings, outreach will still go through to them.
How Settings Propagate
When you create a new campaign with a sender:
- The sender's settings are automatically applied to the campaign.
- If the sender has no settings, the campaign defaults to the agent's settings.
- You can also push blacklist changes across all campaigns and senders at once for consistency.
Key Takeaways
- Outreach settings exist at three levels, but only campaign-level settings are enforced.
- Always verify that your blacklist entries (competitors, unwanted profiles) are included in the campaign itself.
- Use the bulk propagation option to keep settings consistent across campaigns and senders.
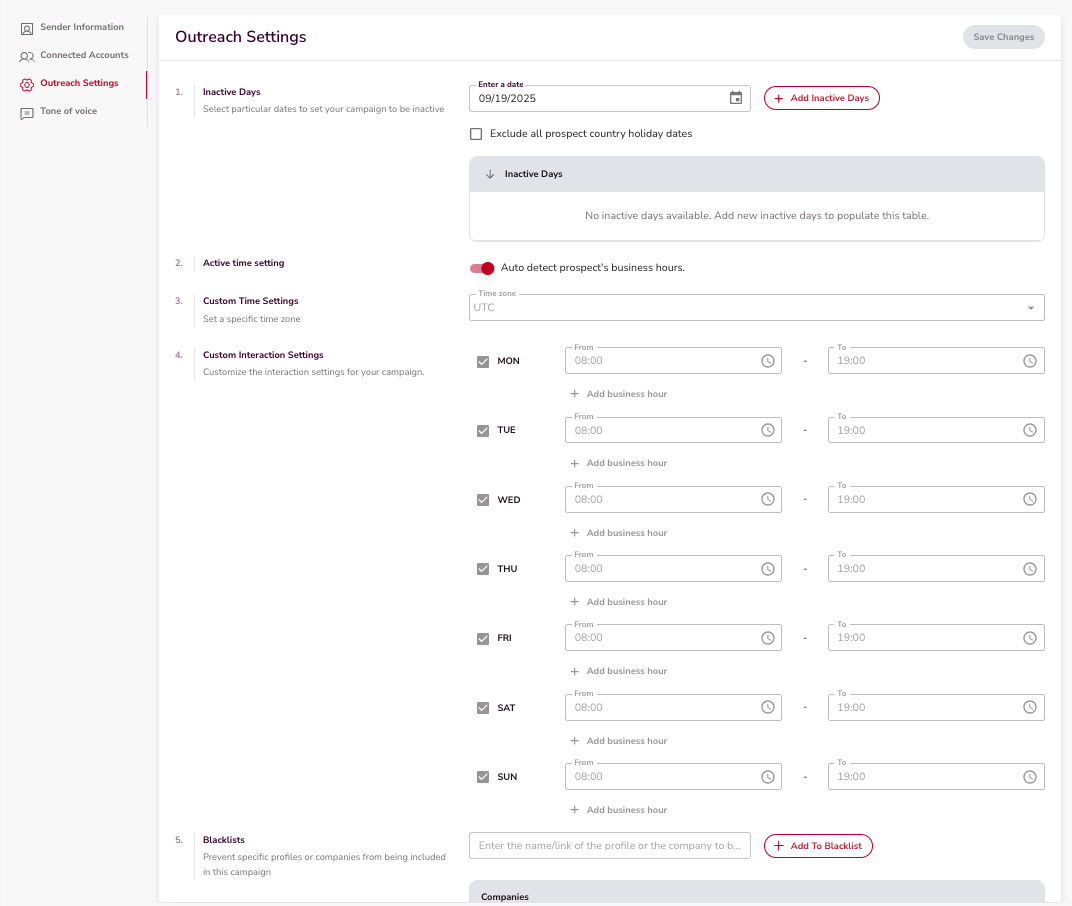
What's Next
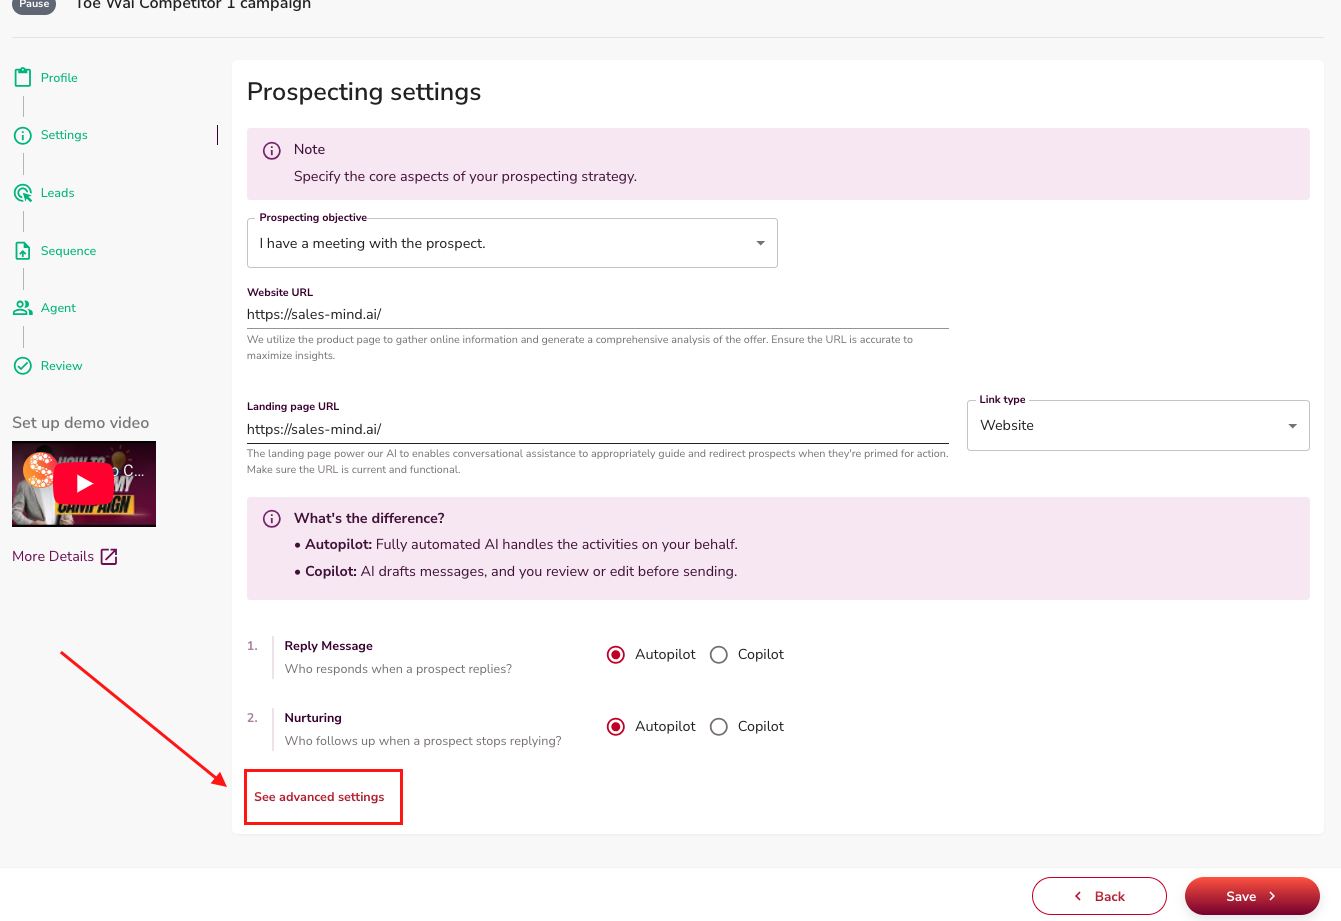
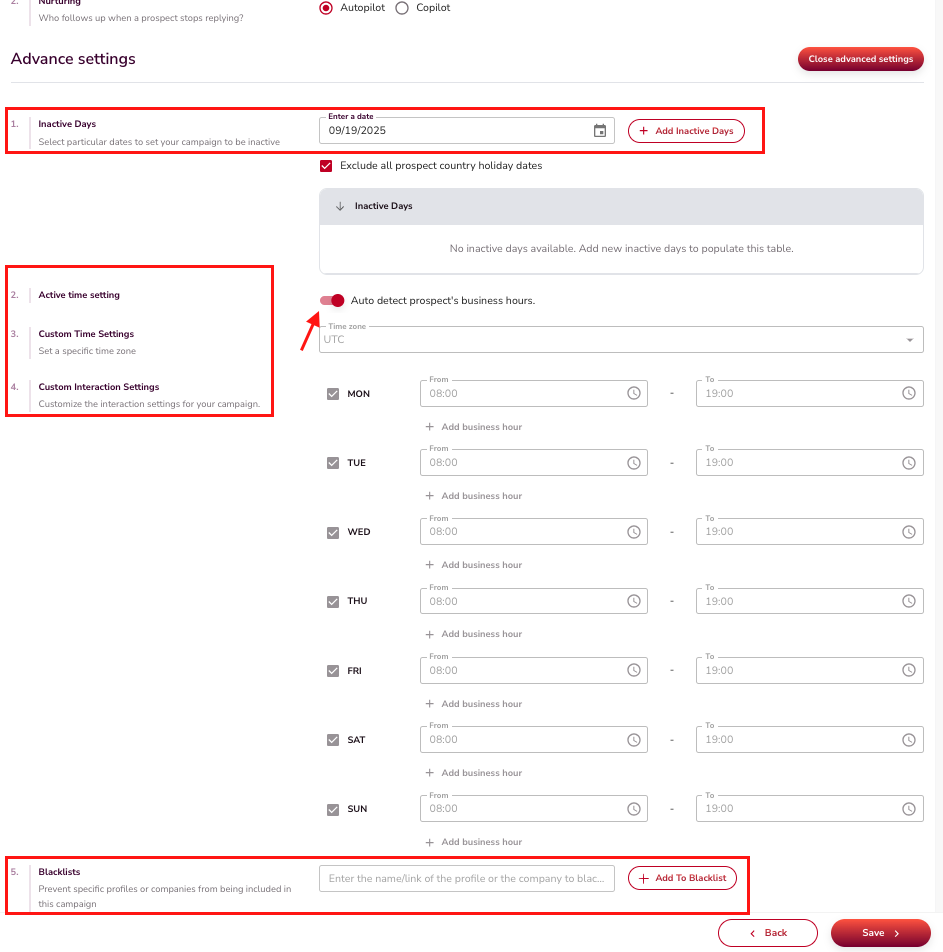
- Learn how to configure Advanced Settings for inactive days and active hours
- See the full Campaign Creation guide for a step-by-step walkthrough